Saturday, April 6, 2013

Fantastical Fairy Houses!


 Welcome to day six of my A to Z Blogging Challenge! Today's post features Fairy Houses, that I made last year. You can use this as inspiration for building your own fairy house (they're lots of fun!) or just read and look at the pretty pictures for fun!
Looks like a house this fairy can dream in!
I have always loved getting something for free, it's something a lot of people probably agree with. I enter contests all the time online, and some in person also. So when a friend told me that our nearby Renaissance Festival was giving away tickets for fairy houses, I jumped on it! 

At first I thought I could just buy an unfinished wooden birdhouse from the craft store, paint and embellish it, and turn that in for free tickets. But then I read the rules more closely... the house had to be no smaller than 12" cubed, from my memory. 

So I started brainstorming what I could make, looking up photos online for inspiration, even went to a greenhouse/garden supply store nearby that carried finished fairy houses and fairy house furniture. Everything was so cute! But I have a stubborn make-it-myself streak, and a desire to spend as little money as possible.

To the craft store! I came home with this haul, after hitting the big three (Michaels, Hobby Lobby, and Joann were all within a few blocks of each other where I lived during this project).
I had decided to make two fairy houses - the offer was two free tickets for each house submitted (there was a contest for special feast and tea tickets, but I just wanted the basic freebie and to have fun, not compete too much), and since we usually go with a group, four free tickets sounded great! More money to spend on food and pretties inside the festival.

So I had two bases, dowels for structure, and some different fun tidbits and embellishments. Rocks, moss, pinecones, feathers! The idea for a fairy house is to take things from nature, or like what nature has if you can't harvest things from your backyard (like when you live in a condo and have NO yard!), that nature-loving fairies would want to live in. Also, shiny stuff, because we know fairies like shiny!

A little bit of work cutting and staining, and I had some dark dowels for the structure of my houses:
But I needed something to build ON the dowels, those were just for the frame. Off to a nearby park, and we found these lovely branches laying around, waiting to be picked up and used for something pretty:
Yes, that is a hack saw, and yes, I did accidentally make a nice slice through my finger while working on this project! But after cleaning and bandaging, back to work!

The notice about the fairy house contest stated that the houses could be hangable, or set on the ground, and I wanted versatility, so the first thing I did was drill holes in the wood bases and run some jute rope through for hanging:
There are two lengths of rope there, connecting on the bottom between two.

A little more drilling and adding some screws to secure dowels to the base, and I had some framework to work with:

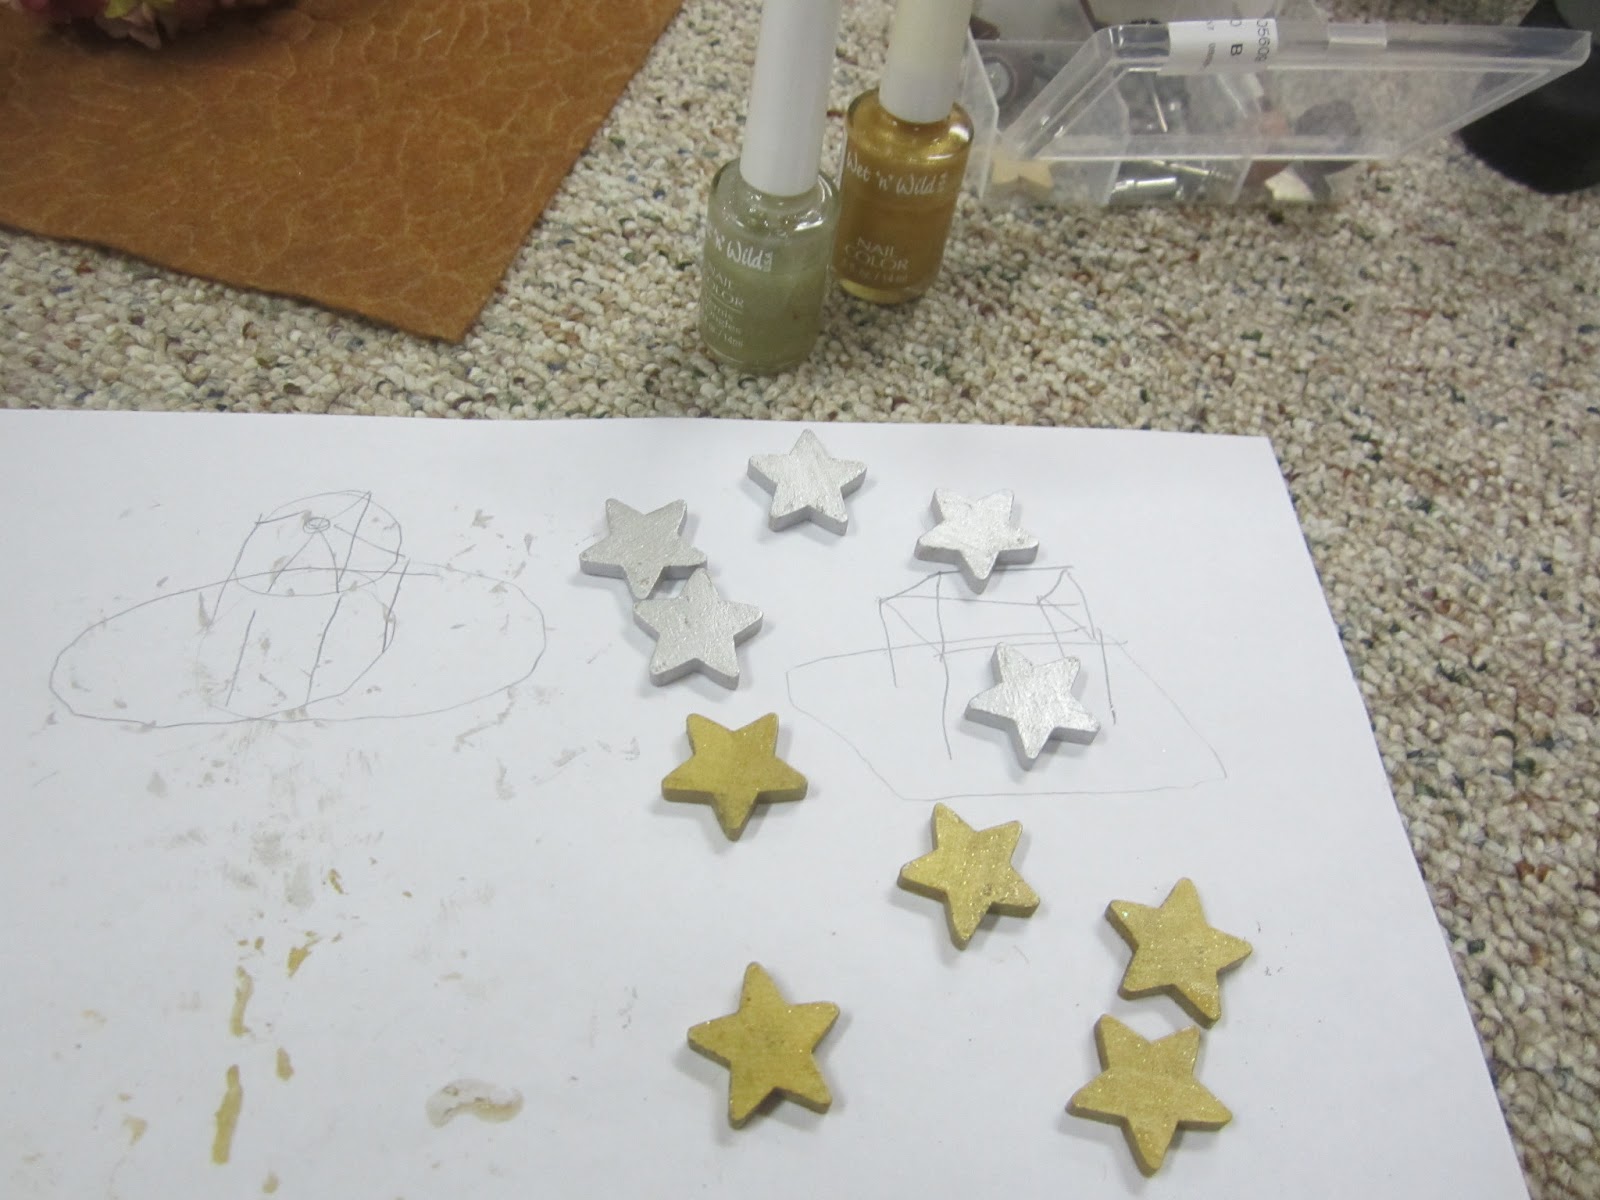
By now I had some sketches to look at, along these lines, that I started working from:
More of a log-cabin look for the rectangle base house, and a somewhat Hawaiian themed house for the oval base.

A few more steps in making the houses:

Adding some more sticks and dowels, walls for the lot cabin. They're lashed onto the dowel with more rope, I remembered how from Girl Scouts! For the peaked roof of the oval base house (from now on I'll call it a gazebo, it looks like one) I drilled small holes in the ends of the dowels and stuck doubled up wire down in them, with tacky glue to make them stick, connecting a wall dowel with a roof dowel in that way. At the top I did the same thing, except I twisted all the wires together - and had to wrap some excess back down around some of the dowels, it was a lot more complicated than the side to roof connections but it worked!


All the walls on the log cabin, and a stick roof on the gazebo finished...


 For the log cabin roof, I took this mesh ribbon and wove paper flower leaves into to for a leaf shingle look. I ran out of leaves though! So a moss ribbon at the top came to the rescue, to cover the gap. Flowers at the top of the gazebo were just for fun at the moment.
I got some help from a friend, and she decided to make the gazebo a feather roofed house. I also removed the mesh ribbon around the base and added criss-crossed sticks instead.


Some of the little details for inside the houses - painted stars for decoration on in and out, a little wood trinket chest I painted with nail polish (for the fun of it) and my friend filled with 'treasure', a chair I made out of sticks with glue and wire for support, two little signs I painted on balsa wood, and a hanging mirror made with a mirror and some silver cord glued and glued and glued around.


Ta-da! Finished houses! I made the little arch with wire, hemp, and sticks, we glued lots of fun rocks and moss down, added some little jewelry, flower pieces, wings, just making them sparkly and earthy at the same time!

I used my little dremel, some screws, and lots of glue for these houses, along with the rope. The glues I used most were E-6000, a glue gun, and Tacky Glue. The E-6000 was mostly for the rocks, Tacky Glue and glue gun for most everything else. And in case you were wondering, this is what a basement looks like after such an involved project:
The cleanup was... not very easy. But I did it, we need the table for the game! The tablecloth was a great idea though, with all the little bits and pieces.

Here's my gazebo house hanging at the Michigan Renaissance Festival:
And my log cabin house sitting amongst other fairy houses also at the festival:
There were SO many pretty houses, I might sometime share all of those photos in another post. I didn't win any prize, but I got a handful of free tickets, so it didn't cost us anything to go see my houses on display, and we had a great time at the festival overall.

After the festival season was over, Michigan Renaissance Festival gave fairy house makers the option to come to the fair grounds and pick up your fairy house, take it back home! They didn't know if the houses would survive the weather into the next season, with Michigan winters being what they are. I decided to make the drive up and find my houses - I had planned on making a new one for my daughter's room come spring, even better if I could get the ones I already made back! When we got to the fair grounds, it was a muddy day with some rain drizzling. We were directed to the back entrance into the grounds, and got to drive all the way to the front entrance. With how bad parking usually is, we always had a long walk from the car to the front gate. And BOY does the festival ground look different without people, after some rain and take down. It's a permanent fair, with permanent wood buildings, but during the off-season, it just sits empty. I found my houses after a little wandering to get to the right spot, and then once we brought them home and let them sit outside for a bit to make sure there weren't any bugs, guess where they ended up?

Hanging from my daughter's ceiling! The handy dandy hanging set-up I put together worked! I figured out the placement and then screwed cup hooks in the ceiling at those spots, hook and voila! With four hooks to hold the weight, there isn't enough stress to need anchors or anything.

When we moved to Virginia and I unpacked the fairy houses, I couldn't resist adding something a little special to them:

Little fairy figurines sent to my daughter from her older cousin. Now the houses have residents. So cute.

Here they are in the corner of her room, at that stage of unpacking. Furniture has been moved around a bit, but the houses are staying there! My daughter's birthday party theme this year is Tinkerbell Fairies, maybe we'll do tiny fairy houses for a fun craft!

I hope you enjoyed this F themed post, join me again on Monday for something starting with G! Thank you for joining me on this fun challenge.

Remember to check out some of the other two thousand participants in the challenge!

Friday, April 5, 2013

Exciting Exalted

Welcome to day five of the A to Z Blogging Challenge! Today's post is about the role playing game Exalted. This is both a system and a setting for a fantasy role playing game, not real fact or life. This is totally White Wolf's creation, I just like talking about it and playing in the world!
Exalted by White Wolf Studios
 From White Wolf's Exalted website: Exalted is a game of epic fantasy set during the Second Age of Man, a time before our own. It is an age of magic and adventure, when heroes of legend are reborn into a time of woe.

The idea behind Exalted sprouts somewhat from the legend of Atlantis, and also a little from Greek myth. In writings about Atlantis, the Atlanteans had very advanced technology for the ancient world, and it was all lost in a great flood. Exalted is set in what they call 'The Second Age of Man', before the great flood, or deluge. There was a First Age of Exalted as well, which had more advanced technology than the second age, techniques lost after a great cataclysm, much like the myth of Atlantis. Some artifacts from the First Age still exist in the Second Age, but they are rare and treasured.

Greek myth steps in with the ruling gods of the world. In Greek myth, the Titans ruled the world, but Zeus and the other gods didn't like how the Titans were running things. So they turned on their parents, taking over Mount Olympus for themselves after killing, maiming, imprisoning the Titans. In Exalted, once great Primordials ruled over all of Creation, in name. But truly, they were up in heaven playing the Games of Divinity, making their children, the gods, rule Creation in their stead. The god wanted to rule in their place, but because of programmed loyalty, they could not act directly against the Primordials.

So instead, the gods gave part of their divine essence, a shard of power, to chosen mortals, humans, to be heroes of the gods. These mortals became Exalted, and fought in what came to be known as the Primordial War. The ruling Primordials defined the laws of existence - so the Exalted were created to beat these down. Exalted can do wondrous feats of strength and dexterity, talk circles around great dictators and use magic that frightens whole populations. The Exalted won the war for the gods, and the gods then headed up to heaven, Yu-Shan, to play the Games of Divinity themselves, leaving Exalted to rule Creation for them, in turn.

Exalted themselves are in two distinct categories, the Celestial Exalted, of which there are a fixed amount, and the Terrestrial Exalted, who can breed more through careful planning and luck. Within the Celestial Exalted are three types: Solar Exalted, the Chosen of the Unconquered Sun; Lunar Exalted, Chosen of Luna the moon; and the Sidereal Exalted, Chosen of the Maidens - Mars, Jupiter, Mercury, Saturn and Venus. The Terrestrial Exalted are Chosen of the Elemental Dragons, Earth, Air, Fire, Water and Wood. Each of these types have their own strengths and weaknesses, but Solar are the highest of all.

As the chosen of the highest god, the Solars ruled Creation with the Lunars by their side. But with power often comes corruption, and many Solar Exalted did corrupt, until their hubris grew so large, the Sidereals and the Terrestrial Exalted, also known as Dragonbloods, worked together to destroy the Solar Exalted and the Lunars. They hunted, stalked, murdered the once-great heroes, and trapped the Solar shards in a giant magical prison under the ocean, driving Lunars to the edges of the world. This was called the Usurpation, for Dragonblood Exalted were made to be servants to the Solars, and in overthrowing them, usurped the rightful rulers of the world.

Without Solars to rule the world, Terrestrial Exalted had a lot more work than they could handle. A Great Contagion broke out across the world, killing nine of every ten people in every population. The Solar's doctors could have cured the Contagion, but they were lost, murdered, locked away. Fair Folk, spirits from beyond the realms of man, invaded weakened Creation, decimating the world under their feet. The Contagion had already run its course, but the Wyld armies of the Fair Folk were still battling the men of creation, and something had to be done. A group of Terrestrial Exalted entered the Solar's Realm Defense Grid, a weapon of the First Age that only Solar Exalted could operate. One of those Dragonbloods somehow got control of the mighty weapon and used it to decimate the enemies of creation, send the Fair Folk back to their realms of the Wyld.

This Terrestrial named herself the Scarlet Empress, and built up a new Realm from the ruins of the Solar Exalted's realm. The world is not as large as it once was, but it is still a world worth fighting for. Dragonbloods rule the land, but Solar Exalted are showing up after centuries of imprisonment. Lunar Exalted are also coming back from the edges of the world, in this, the Second Age of Man.

The world Exalted live in is called Creation, a wondrous world of warring elements, with Air's frigid cold to the north opposing Fire's blistering heat to the south; Wood's deep forests to the east in contrast to Water's unending oceans to the west; and in the center, Earth, and Mount Meru, the mountain that holds up the sky. In flavor, Creation draws a lot from Eastern mythology, and much of the art style of Exalted is Anime and Manga themed.

When you play Exalted, usually you will play one of the above Exalted types, a mortal gifted with a shard of Exalted power from the gods, the same shard a hero of the First Age possessed, now yours to do with what you will - as long as it is something great. Character creation involves filling out a character sheet with different traits, abilities, and attributes, coming up with a character that fits the world, to change the world (for better or worse? your choice!). You can be a warrior or a poet (even both!), a sea captain, a king, a spy who disappears in a puff of smoke, an assassin with gravity-defying balance, a gladiator turned priest, a crafter of wondrous items, the possibilities are endless, as big as your imagination. I have played Exalted at the table top with my husband and a gaming group as three different characters, first a child prodigy martial artist and diplomat, then a female priest of the Sun with a really big hammer, and finally a power crazy teenage sorceress. All were Solars because, well, Solars rule! Also the first two games our Circle (what a group is called in Exalted) was only Solar, where the last game we each chose varied types of Exalted.

Exalted is a very fun game, and you can get a lot of great stories out of it! There is a LOT more to the setting and history than what I wrote here, perhaps I can share that another day. Remember, my costume of the Scarlet Empress came from this setting! She was a Terrestrial Exalted, but the most powerful of her type ever to grace Creation. Currently there are two editions to the Exalted game, with a third edition in development. Check out the game at Drive-Thru RPG!

Oh and shameless plug, my husband wrote two great Storytelling Adventure System games for the setting, Daughter of Nexus and In Hunting A Monster, you should look at those too =) They're the highest rated of Exalted SAS!

I hope you enjoyed this post about something starting with E! Tomorrow's post will have more photos, please come again to see that!

Thursday, April 4, 2013

Dice and Dungeons & Dragons

 Welcome to day 4 of the A to Z Blogging Challenge! This entry is brought to you by the letter D, for Dice and Dungeons and Dragons.

Dice are great, I love dice! And they come in so many different colors and types. As I have said before, I am a gamer, as is my husband, and our daughter dreams of being one also. I don't play video games (except the occasional Peggle, and My Little Pony on my kindle) but I love watching my husband play games with good stories. What I do play are role playing games, and most of those use dice for determining different actions and events in the games.

Since Dungeons and Dragons also starts with D, how about a twofer today? D&D is one of the most widely known role playing games, don't judge it by the headlines though. It's one we play the most, because there are so many different settings within the same game system, giving dungeon masters and players a lot of different flavors to try of the same system - like flavors of cake, they're all cake, but a lot of different varieties and flavors to choose from.
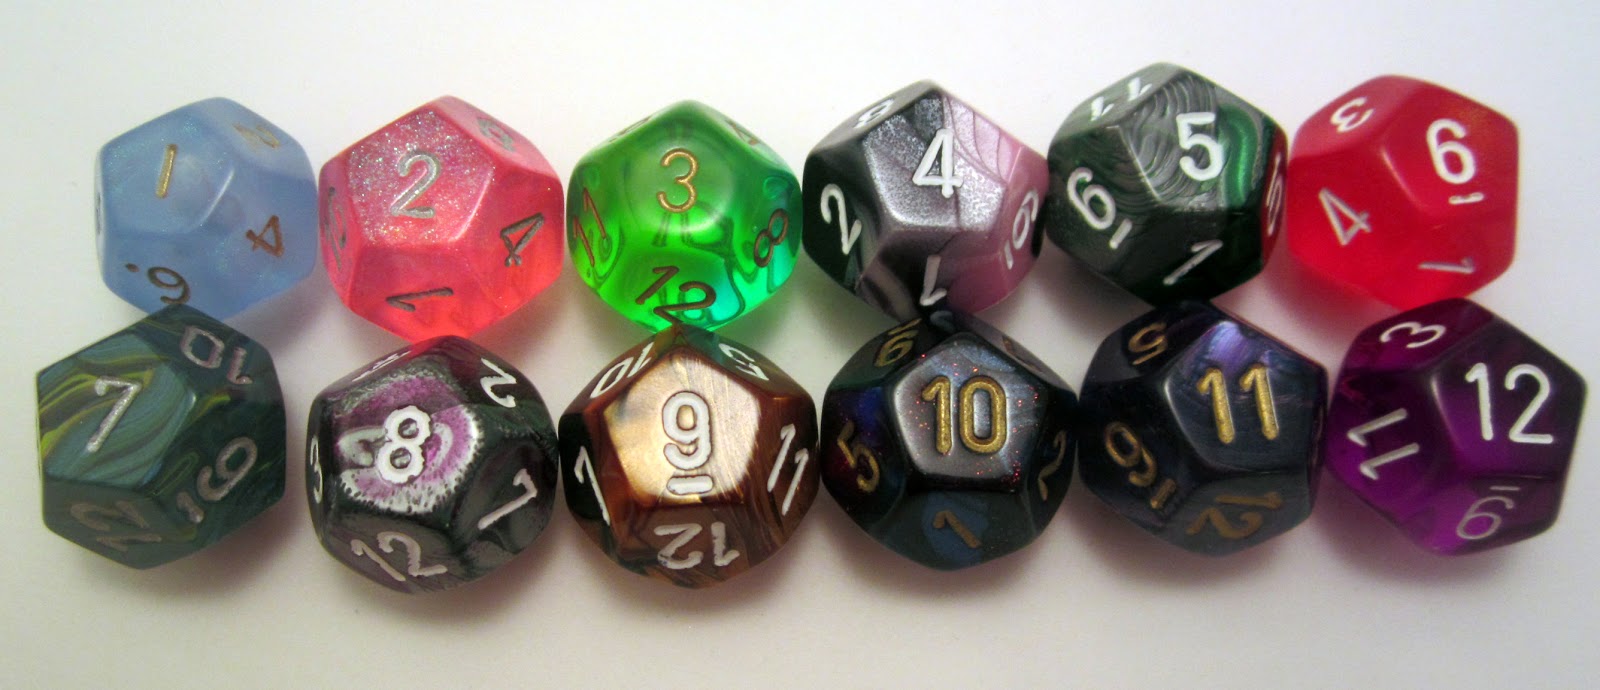
I happen to have a lot of dice. These are the pretties that sit by my laptop. But that's not all.
These organized machines of probability grace our table every Friday night during our weekly Dungeons and Dragons game. There are your common six sided dice, along with twenty sided, ten sided, twelve sided, eight sided, four sided, and even pairs to make one hundred sided results! Our family has been collecting dice for a while, just like I have been collecting beads for a while! My daughter even has her own dice collection, and my husband, our dungeon master and story teller, has his personal set also.

A selection of six sided dice is presented above, with standard pips (the dots) and also ones with engraved numbers. Aren't all the colors pretty? Many games are centered around these dice alone, in other systems they use them along with other dice. Dungeons and Dragons uses these for ability score rolls and some damage rolls, like short swords, and in multiples, for spells like fireball.

For other polyhedrals, I would like to share the following:

 Four sided dice, a pain to roll because they don't roll, they just drop. Also the most dangerous when dropped on the floor and stepped on! We gamers sometimes call them caltrops, small sharp weapons thrown on the floor to prick feet and trip enemies. In D&D, these are commonly used for dagger damage rolls, and small spells.

 Eight siders, better to roll than four sided, fun to stack in dice towers. Dice are like more complicated bricks sometimes, it's fun to stack them in walls and towers between actions in game. Dungeons and Dragons uses eight sided dice for different weapon damage rolls, especially long swords.

 These are called percentile dice, you roll a matched pair, one looks like a normal ten sided die, the other has the tens place. Rolled together, you get the ten place and the single place, making up a whole two digit number. You can use this set for getting a random number between 1 and 100, sometimes used to get a percentage, sometimes just whole numbers. A pair of ten sided dice of different colors can also be used, if you declare before the roll which is high and which is low. This set of dice is rarely used by players in Dungeons and Dragons, but dungeon masters might use them to determine random encounters, or whether your almost dieing character stabilizes or slides closer to death.
Here we have ten sided dice, also another type of dice some role playing games use exclusively (like Exalted, which the character for my Scarlet Empress costume is from). For Dungeons and Dragons, these are used for weapon damage rolls most commonly.

 Twelve sided dice are fun - you have a powerful weapon if your damage uses this die! There isn't much more to say about this die, other than they roll like a ball almost as good as twenty sided dice.
And here are the most commonly used dice in Dungeons and Dragons - it is a D20 system. Twenty sided dice are rolled to determine the outcome of many actions: attacks, spells,  skills. They also spin pretty nicely!

Dice can also make great jewelry and accessories! These items and more available in my etsy shop, Lizzy's Fancies

These are made with beads in the shape of dice, but soon I will be making jewelry with real dice!

Dice aren't only for math geeks, they're also for gamer geeks! I hope you enjoyed this entry in my A to Z Blogging Challenge, join me again tomorrow for the letter E! It won't be as photo-heavy as the other posts this week.

Wednesday, April 3, 2013

Cinderella Costume


Today is April 3rd, that means it's time for C! Thanks for joining me again in the A to Z Blogging Challenge!

I have a tradition of making my daughter a Halloween costume every year, something sort of carried on from my mother, and in line with my love of costumes and my daughter's love of getting dressed up. For Halloween 2012, she and I decided on Cinderella for her costume. Now, I'm a stickler for costume accuracy - I really don't like the store bought costumes that add silly details but forget important ones. As you can see in the dolls above, Disney added a bow on baby Cinderella, a rose and collar trim on the toddler doll, and tiers in between the skirt puffs on the Barbie size doll. They're fun for my daughter to play with, but for me they just don't work (and you can tell she plays with them from the messed up hair, will fix that someday...).

In previous years, I have used different patterns, sometimes mixing elements of two patterns together, or adding my own bit to a pattern. But for Cinderella, I decided to get the Disney brand pattern, since I could get it for a dollar on sale, and I had never done skirt puffs before and didn't want to try and figure that out on my own. And the fabric had to be perfect, a light crystal blue with some glitter, not the stronger blue used in some costumes. Off to the craft store, and this is what I came home with:
Pattern, baby blue organza for the sleeve and skirt puffs, baby blue glitter satin for the dress, and a baby blue lining fabric for inside (please pardon the wrinkles, I just found these scraps in a box last night!). I didn't take many progress photos of the dress making because I was in a big time crunch, but here is a photo of the bodice with sleeves before adding the skirt puffs:
So sweet and simple! Then on go the skirt puffs:
I did cheat a little on the sleeve cuffs - the pattern called for making a narrow hem for the elastic to go through, but I used white satin ribbon folded in half for the hem and casing. Without that, the elastic would probably show through, so my way was better!

Onto the skirt, finishing the dress: 
Yes, those are light up Cinderella shoes, that's the one thing I bought from the costume section because they're just so cute and fun!

Here is the dress hanging up, front and back:

My zipper installation isn't the best, but it has improved a lot since the first few zippers I tried. In case you are wondering, I started sewing in 2007 on my own, after a few barely remembered lessons from my mother in my early teens. I haven't taken lessons since 2007 and haven't watched any how-to videos, just follow the patterns and learn from those and have also used some techniques from other patterns in new patterns. Simplicity patterns are my favorite! They go on sale the most, and are very easy to understand, with lots of different styles to choose from - especially costumes!

Finally, the princess herself! She loves this dress (along with her two other princess dresses, but those start with R and S).

We didn't have an orange pumpkin coach, but the combination of a yellow school bus and giant bunny works, right? The dress still fits her now, six months later, and I hemmed about 5 inches of length in the skirt, so if she gets taller but not too much wider, I can let out the hem and she'll be able to keep wearing it!

Do you have a favorite costume, or a favorite princess? Share with me in the comments! I hope you enjoyed this entry in my A to Z Blogging Challenge, join me again tomorrow for D!

Don't forget to check out some of the other great blogs participating in this challenge: http://www.linkytools.com/wordpress_list.aspx?id=181381&type=basic

Tuesday, April 2, 2013

Beautiful Beads

 Welcome to Day Two of  The A to Z Blogging Challenge! Today's post focuses on something that starts with B!

 As a crafter, one of my biggest passions is for making jewelry. And you know what you can make a lot of jewelry out of? That's right, beads! Beautiful beads, and there are so many different ones to choose from!  

I have been actively making jewelry as gifts and to sell for my business for five years now, and I used to make jewelry long before that. Some of the beads in my collection I've had since I was 13 or 14 years old, and some since I was maybe 8 or 9! I have made a lot of jewelry in those years, but I still have a LOT of beads to work with.

My beads are all in containers on shelves above a tv, since we moved to Virginia I have had to get creative with storage.
Yes, those are all mostly full, and they're all mine! My precious precious beads. Want to take a peek at what's inside?


Two of those cases have some of my jumprings as well, for making chainmaille jewelry, but those don't start with B! My cases are various styles and sizes from buying them at different times, and the small ones are great for taking along for mobile crafting. Below is my 'mobile crafting unit', a plastic shoebox full of jewelry making supplies, and lots of beads! Great for long car rides, especially moving from the Midwest to the East Coast, y'know?
So many beads I have great ideas for, and some I haven't thought of ideas for yet, just waiting for it to happen. But I only have so much time to work with! I still have a lot of green beads, intended for St. Patrick's Day jewelry, but I didn't make those again this year. I hear Emerald is a big color for the year though!
Here are a few special beads - I just love the crystalline briolettes in the top left, and the rainbow iridescent cubes and rondelles and hemetite hearts and stars below. Then on the right I have a lot of Swarovski crystal bicone beads, for birthstone jewelry and other pretties.

And just in case you were wondering, yes I am crazy enough to let my three year old have her own beads too!

There's a full alphabet in there, though she has mixed it up a little...

Do you like beads too? What are your favorite kinds? Join me tomorrow for C! (Hopefully I'll get the post up earlier on day 3...)

And if you want to see some of the stuff I make with beads, head over to my etsy shop, there's a button on the right for it ;) And my facebook page has more photos of things I have made not currently available.

Monday, April 1, 2013

Alicorn Art - A to Z Blogging Challenge

Today I am starting something called A to Z Blogging from A to Z April Challenge. This means I will make a new post every day of April (excluding Sundays) starting with the letter of that day, getting through the alphabet and making 26 posts by the end of the month. See the button on my sidebar for a link back to the challenge website =)

So onto the first post of the month!

It's no secret that many girls love ponies, and my little girl loves them a lot! She has this shirt, one of her favorites, with an alicorn on it - a unicorn with wings.
After dressing her in it for a while, and seeing a plain wood plaque at the craft store, the idea popped in my head to make it a bit of wall art for her room. I couldn't follow the design exactly but I wanted something inspired by, with the same colors. I looked online for more inspiration, found a unicorn design I liked and a wing design. A little sketching and layering, and I got this:
I painted the shield pewter gray, so then the next step was tracing the design onto the wood.
I retraced the design, cut it out in the placement I wanted and taped it to the shield. I tried cutting the design with a nail, but that didn't work so well. A hard-pressed pencil worked though!

Next, painting. Outline first, then filling it in.
My painting studio is a little more limited than it was in our last house, but I'm making do!
 I didn't like how the bottom of the neck and shoulders were looking, so I decided to add a cloudy mist underneath, and stars as well.
I used rubber stamps for the stars, instead of painting them and ending up with too much difference in size and shape.

But I was still missing something... there was metallic shimmer, stars, the wings and horn and curly mane... but no glitter!

It might not show up very well in photos, but I love how it looks in person! I added some stripes around the sides to finish it off.


Finally! 
Something new and pretty for my pony loving girl!

Soon it'll be up on her wall with a painted canvas with her name.

I hope you enjoyed seeing my Alicorn Art, and join me tomorrow for a post about something that starts with B!

Edit: This is a blog hop, my first! Here's the list of the other blogs in the challenge, there are thousands! Go see a few, and have fun this month!