Welcome to day six of my A to Z Blogging Challenge! Today's post features Fairy Houses, that I made last year. You can use this as inspiration for building your own fairy house (they're lots of fun!) or just read and look at the pretty pictures for fun!
I have always loved getting something for free, it's something a lot of people probably agree with. I enter contests all the time online, and some in person also. So when a friend told me that our nearby Renaissance Festival was giving away tickets for fairy houses, I jumped on it!
At first I thought I could just buy an unfinished wooden birdhouse from the craft store, paint and embellish it, and turn that in for free tickets. But then I read the rules more closely... the house had to be no smaller than 12" cubed, from my memory.
So I started brainstorming what I could make, looking up photos online for inspiration, even went to a greenhouse/garden supply store nearby that carried finished fairy houses and fairy house furniture. Everything was so cute! But I have a stubborn make-it-myself streak, and a desire to spend as little money as possible.
To the craft store! I came home with this haul, after hitting the big three (Michaels, Hobby Lobby, and Joann were all within a few blocks of each other where I lived during this project).
I had decided to make two fairy houses - the offer was two free tickets for each house submitted (there was a contest for special feast and tea tickets, but I just wanted the basic freebie and to have fun, not compete too much), and since we usually go with a group, four free tickets sounded great! More money to spend on food and pretties inside the festival.
So I had two bases, dowels for structure, and some different fun tidbits and embellishments. Rocks, moss, pinecones, feathers! The idea for a fairy house is to take things from nature, or like what nature has if you can't harvest things from your backyard (like when you live in a condo and have NO yard!), that nature-loving fairies would want to live in. Also, shiny stuff, because we know fairies like shiny!
A little bit of work cutting and staining, and I had some dark dowels for the structure of my houses:
But I needed something to build ON the dowels, those were just for the frame. Off to a nearby park, and we found these lovely branches laying around, waiting to be picked up and used for something pretty:
Yes, that is a hack saw, and yes, I did accidentally make a nice slice through my finger while working on this project! But after cleaning and bandaging, back to work!
The notice about the fairy house contest stated that the houses could be hangable, or set on the ground, and I wanted versatility, so the first thing I did was drill holes in the wood bases and run some jute rope through for hanging:
There are two lengths of rope there, connecting on the bottom between two.
A little more drilling and adding some screws to secure dowels to the base, and I had some framework to work with:
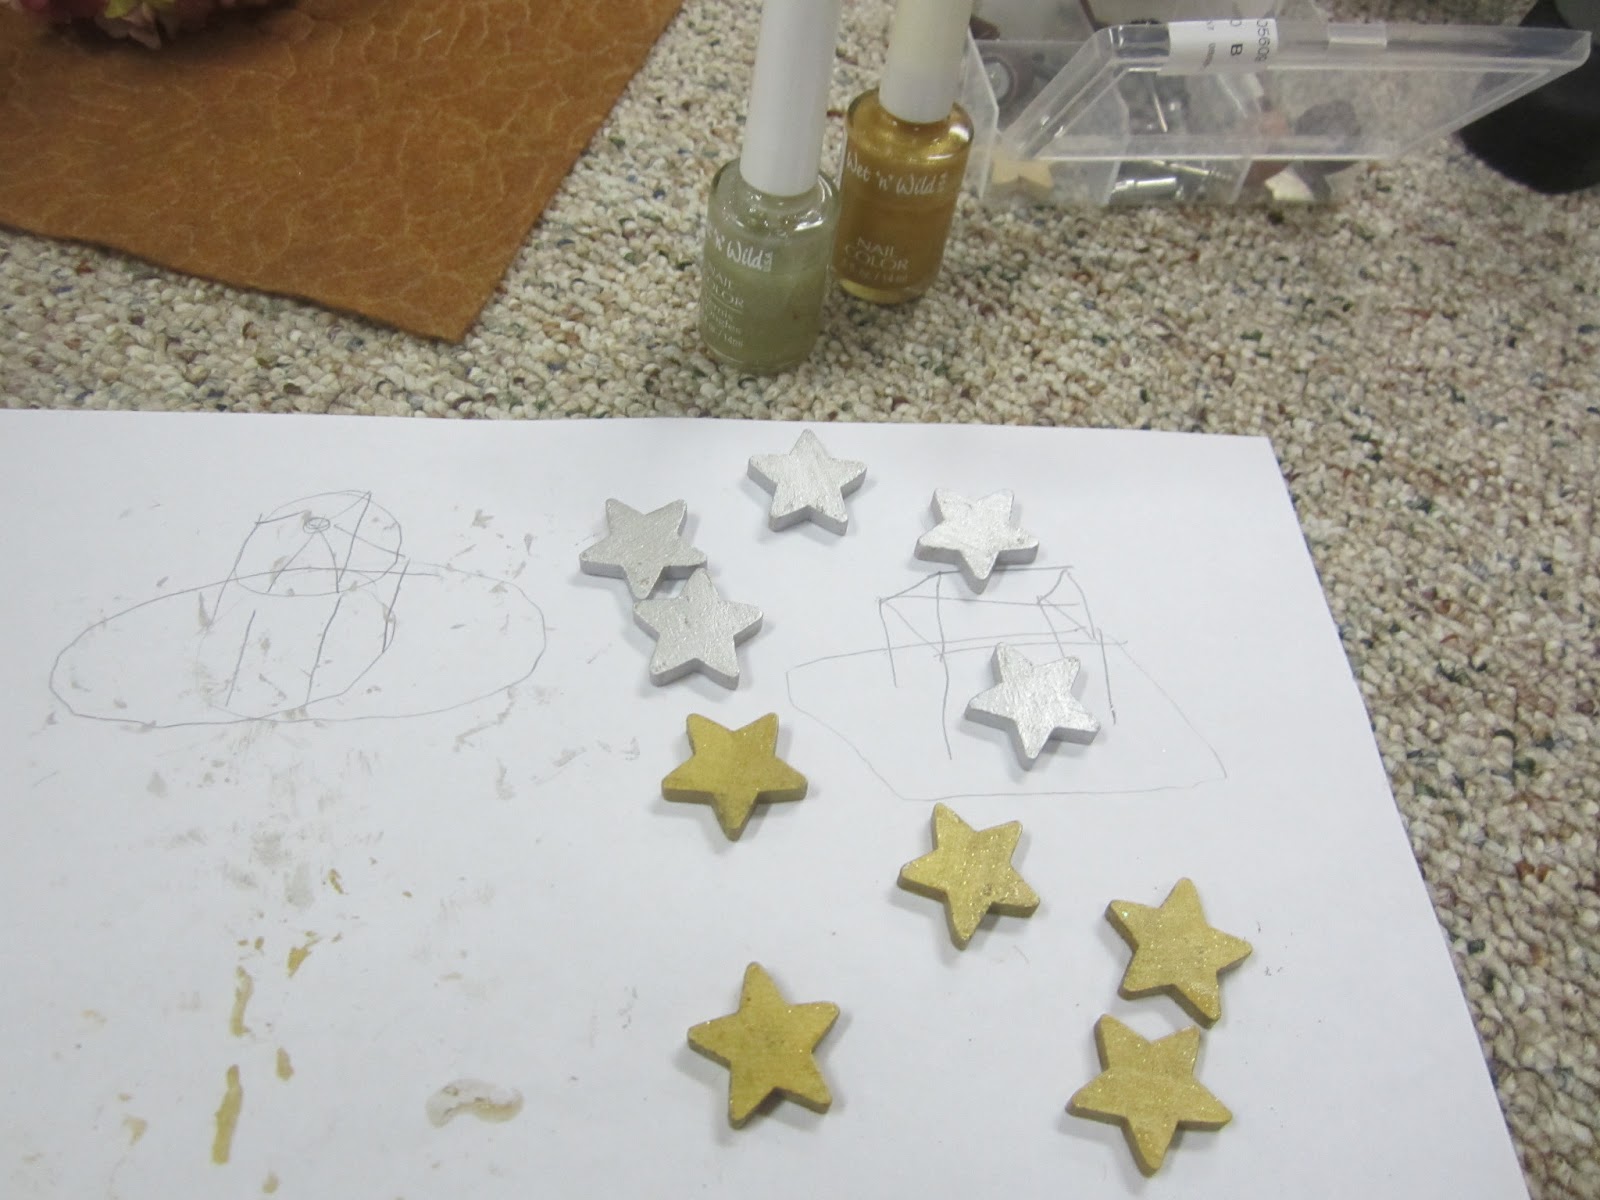
By now I had some sketches to look at, along these lines, that I started working from:
More of a log-cabin look for the rectangle base house, and a somewhat Hawaiian themed house for the oval base.
A few more steps in making the houses:
Adding some more sticks and dowels, walls for the lot cabin. They're lashed onto the dowel with more rope, I remembered how from Girl Scouts! For the peaked roof of the oval base house (from now on I'll call it a gazebo, it looks like one) I drilled small holes in the ends of the dowels and stuck doubled up wire down in them, with tacky glue to make them stick, connecting a wall dowel with a roof dowel in that way. At the top I did the same thing, except I twisted all the wires together - and had to wrap some excess back down around some of the dowels, it was a lot more complicated than the side to roof connections but it worked!
All the walls on the log cabin, and a stick roof on the gazebo finished...
For the log cabin roof, I took this mesh ribbon and wove paper flower leaves into to for a leaf shingle look. I ran out of leaves though! So a moss ribbon at the top came to the rescue, to cover the gap. Flowers at the top of the gazebo were just for fun at the moment.
I got some help from a friend, and she decided to make the gazebo a feather roofed house. I also removed the mesh ribbon around the base and added criss-crossed sticks instead.
Some of the little details for inside the houses - painted stars for decoration on in and out, a little wood trinket chest I painted with nail polish (for the fun of it) and my friend filled with 'treasure', a chair I made out of sticks with glue and wire for support, two little signs I painted on balsa wood, and a hanging mirror made with a mirror and some silver cord glued and glued and glued around.
Ta-da! Finished houses! I made the little arch with wire, hemp, and sticks, we glued lots of fun rocks and moss down, added some little jewelry, flower pieces, wings, just making them sparkly and earthy at the same time!
I used my little dremel, some screws, and lots of glue for these houses, along with the rope. The glues I used most were E-6000, a glue gun, and Tacky Glue. The E-6000 was mostly for the rocks, Tacky Glue and glue gun for most everything else. And in case you were wondering, this is what a basement looks like after such an involved project:
The cleanup was... not very easy. But I did it, we need the table for the game! The tablecloth was a great idea though, with all the little bits and pieces.
Here's my gazebo house hanging at the Michigan Renaissance Festival:
And my log cabin house sitting amongst other fairy houses also at the festival:
There were SO many pretty houses, I might sometime share all of those photos in another post. I didn't win any prize, but I got a handful of free tickets, so it didn't cost us anything to go see my houses on display, and we had a great time at the festival overall.
After the festival season was over, Michigan Renaissance Festival gave fairy house makers the option to come to the fair grounds and pick up your fairy house, take it back home! They didn't know if the houses would survive the weather into the next season, with Michigan winters being what they are. I decided to make the drive up and find my houses - I had planned on making a new one for my daughter's room come spring, even better if I could get the ones I already made back! When we got to the fair grounds, it was a muddy day with some rain drizzling. We were directed to the back entrance into the grounds, and got to drive all the way to the front entrance. With how bad parking usually is, we always had a long walk from the car to the front gate. And BOY does the festival ground look different without people, after some rain and take down. It's a permanent fair, with permanent wood buildings, but during the off-season, it just sits empty. I found my houses after a little wandering to get to the right spot, and then once we brought them home and let them sit outside for a bit to make sure there weren't any bugs, guess where they ended up?

Hanging from my daughter's ceiling! The handy dandy hanging set-up I put together worked! I figured out the placement and then screwed cup hooks in the ceiling at those spots, hook and voila! With four hooks to hold the weight, there isn't enough stress to need anchors or anything.
When we moved to Virginia and I unpacked the fairy houses, I couldn't resist adding something a little special to them:
Little fairy figurines sent to my daughter from her older cousin. Now the houses have residents. So cute.
Here they are in the corner of her room, at that stage of unpacking. Furniture has been moved around a bit, but the houses are staying there! My daughter's birthday party theme this year is Tinkerbell Fairies, maybe we'll do tiny fairy houses for a fun craft!
I hope you enjoyed this F themed post, join me again on Monday for something starting with G! Thank you for joining me on this fun challenge.
Remember to check out some of the other two thousand participants in the challenge!