
Welcome to day six of my A to Z Blogging Challenge! Today's post features Fairy Houses, that I made last year. You can use this as inspiration for building your own fairy house (they're lots of fun!) or just read and look at the pretty pictures for fun!

At first I thought I could just buy an unfinished wooden birdhouse from the craft store, paint and embellish it, and turn that in for free tickets. But then I read the rules more closely... the house had to be no smaller than 12" cubed, from my memory.
So I started brainstorming what I could make, looking up photos online for inspiration, even went to a greenhouse/garden supply store nearby that carried finished fairy houses and fairy house furniture. Everything was so cute! But I have a stubborn make-it-myself streak, and a desire to spend as little money as possible.
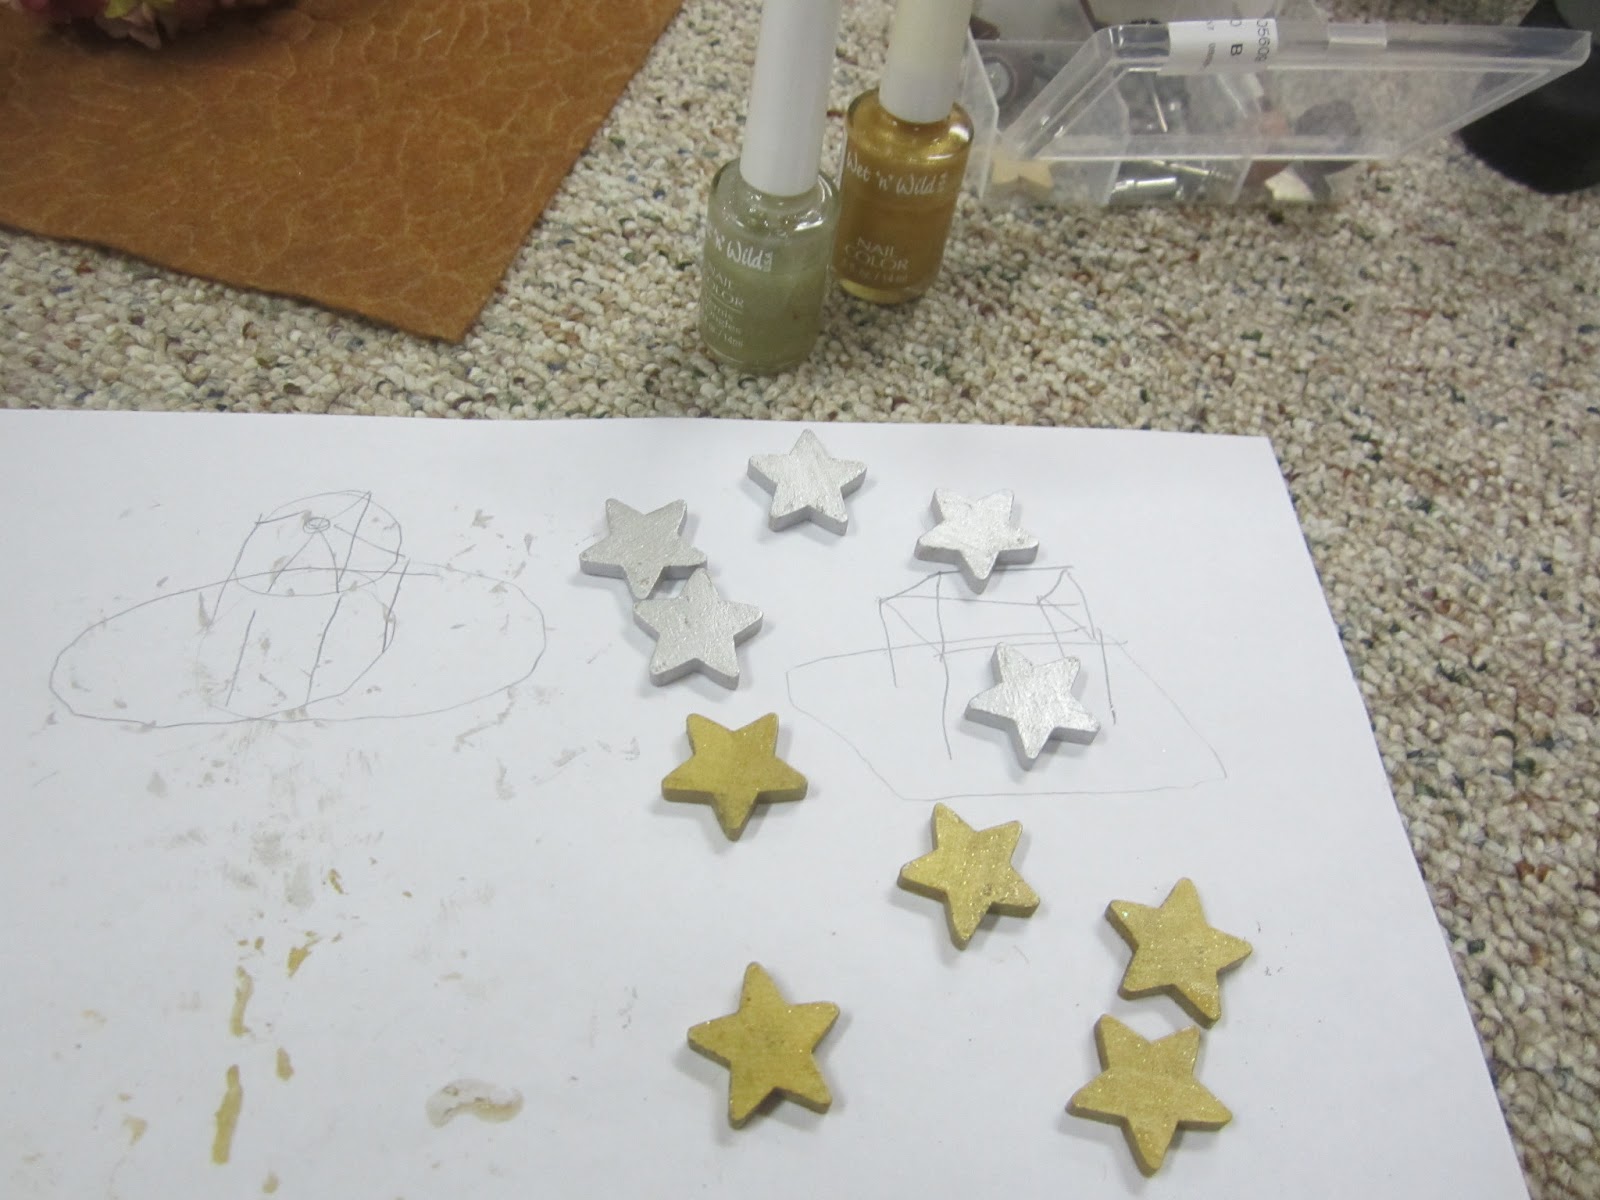
To the craft store! I came home with this haul, after hitting the big three (Michaels, Hobby Lobby, and Joann were all within a few blocks of each other where I lived during this project).

I had decided to make two fairy houses - the offer was two free tickets for each house submitted (there was a contest for special feast and tea tickets, but I just wanted the basic freebie and to have fun, not compete too much), and since we usually go with a group, four free tickets sounded great! More money to spend on food and pretties inside the festival.
So I had two bases, dowels for structure, and some different fun tidbits and embellishments. Rocks, moss, pinecones, feathers! The idea for a fairy house is to take things from nature, or like what nature has if you can't harvest things from your backyard (like when you live in a condo and have NO yard!), that nature-loving fairies would want to live in. Also, shiny stuff, because we know fairies like shiny!
A little bit of work cutting and staining, and I had some dark dowels for the structure of my houses:
 But I needed something to build ON the dowels, those were just for the frame. Off to a nearby park, and we found these lovely branches laying around, waiting to be picked up and used for something pretty:
 Yes, that is a hack saw, and yes, I did accidentally make a nice slice through my finger while working on this project! But after cleaning and bandaging, back to work!
The notice about the fairy house contest stated that the houses could be hangable, or set on the ground, and I wanted versatility, so the first thing I did was drill holes in the wood bases and run some jute rope through for hanging:

There are two lengths of rope there, connecting on the bottom between two.
A little more drilling and adding some screws to secure dowels to the base, and I had some framework to work with:


By now I had some sketches to look at, along these lines, that I started working from:

More of a log-cabin look for the rectangle base house, and a somewhat Hawaiian themed house for the oval base.
A few more steps in making the houses:


Adding some more sticks and dowels, walls for the lot cabin. They're lashed onto the dowel with more rope, I remembered how from Girl Scouts! For the peaked roof of the oval base house (from now on I'll call it a gazebo, it looks like one) I drilled small holes in the ends of the dowels and stuck doubled up wire down in them, with tacky glue to make them stick, connecting a wall dowel with a roof dowel in that way. At the top I did the same thing, except I twisted all the wires together - and had to wrap some excess back down around some of the dowels, it was a lot more complicated than the side to roof connections but it worked!


I used my little dremel, some screws, and lots of glue for these houses, along with the rope. The glues I used most were E-6000, a glue gun, and Tacky Glue. The E-6000 was mostly for the rocks, Tacky Glue and glue gun for most everything else. And in case you were wondering, this is what a basement looks like after such an involved project:

Here's my gazebo house hanging at the Michigan Renaissance Festival:


After the festival season was over, Michigan Renaissance Festival gave fairy house makers the option to come to the fair grounds and pick up your fairy house, take it back home! They didn't know if the houses would survive the weather into the next season, with Michigan winters being what they are. I decided to make the drive up and find my houses - I had planned on making a new one for my daughter's room come spring, even better if I could get the ones I already made back! When we got to the fair grounds, it was a muddy day with some rain drizzling. We were directed to the back entrance into the grounds, and got to drive all the way to the front entrance. With how bad parking usually is, we always had a long walk from the car to the front gate. And BOY does the festival ground look different without people, after some rain and take down. It's a permanent fair, with permanent wood buildings, but during the off-season, it just sits empty. I found my houses after a little wandering to get to the right spot, and then once we brought them home and let them sit outside for a bit to make sure there weren't any bugs, guess where they ended up?

When we moved to Virginia and I unpacked the fairy houses, I couldn't resist adding something a little special to them:


I hope you enjoyed this F themed post, join me again on Monday for something starting with G! Thank you for joining me on this fun challenge.
Remember to check out some of the other two thousand participants in the challenge!
Those are such beautifully made houses! If I were a fairy, I would love to live in them. :)
ReplyDeleteFrom the A-Z neighborhood,
D is for Deecoded
Thanks Dee! Now if only cleaning fairies would come live in them and help me around the house ;)
DeleteHi, popping in from A-Z. Absolutely love those fairy houses, and adding fairies to them makes them look so appealing :)
ReplyDeleteSuzanne @Suzannes Tribe
Thanks Suzanne, I love them too! I don't know why I didn't think of putting fairies in them in Michigan =)
DeleteI love your Fairy House idea. I collect fairy ornaments and have quite a few in my house so this would be the perfect way to store some of them and give them their own space!
ReplyDeleteAbsolutely fantastic project!
Visitor from the A-Z Challenge. :)
Thanks Ginger =) I got some ideas from doing a google image search for fairy houses, then made it my own. Some companies sell kits for houses, but as you can see you don't need a kit!
Delete